When your SIP Device like a soft-phone or IP-Phone or IP-PBX etc., is not able to register your VOIP Line username to DoorVaani SIP Server and you get a error message, there are some primary checks to be done as listed below:
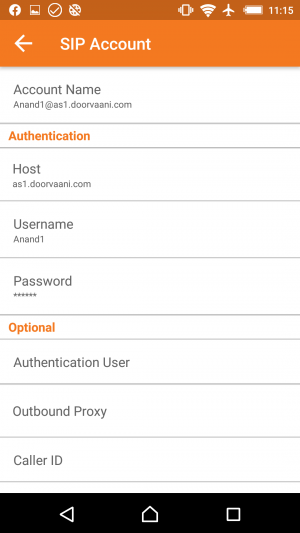
Check VOIP Line username, password and SIP Host name
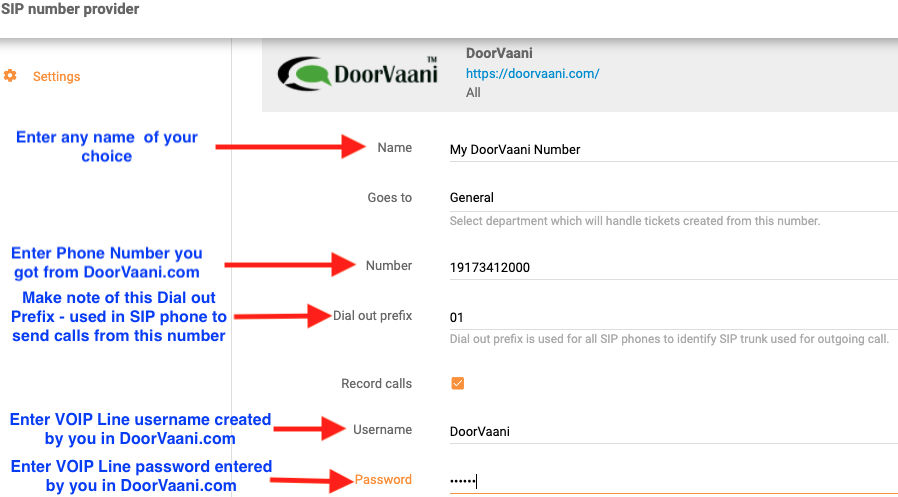
- Please ensure you entered your correct VOIP Line username in your device. VOIP Line usernames are case-sensitive. You can see your VOIP Line usernames created by you in your DoorVaani.com account on “MY DASHBOARD > VOIP Lines / Rates / Acct. Credit” page accessible from the left hand side menu.
- Please ensure you entered correct VOIP Line password in your device. VOIP Line passwords are case-sensitive. Just in case you forgot your VOIP Line password, you can reset it in your DoorVaani.com account. Please refer to https://doorvaani.com/blog/how-to-reset-voip-line-password/ for full details of VOIP Line password reset.
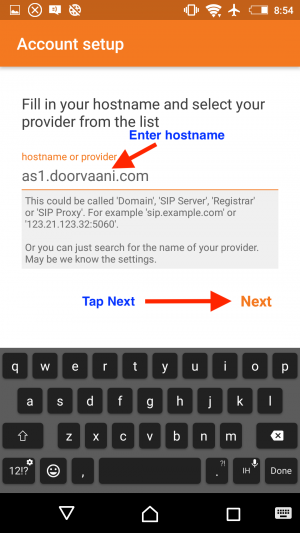
- Please ensure you entered correct spelling of the SIP hostname / domain name in your device. The SIP hostname / domain name for most of the users is as1.doorvaani.com .
Internet Connectivity and Firewall checks
If you see all the above are correct, you should do the following primary Internet connectivity checks and firewall checks:
- Please ensure your Internet connection is active and working and you have good Internet speed. If you are using a soft-phone app, for example Zoiper, on a mobile device, please ensure you have good signal strength – WiFi Signal or 4G signal as applicable to you. If you have access to both WiFi and 4G, please check both of these connections and check if it works on one of the connections but not on the other. For example it may work on 4G but not on WiFi or vice-versa.
- If you are using WiFi connection or LAN Connection (IP-Phone connected through cable in your LAN), please check your Internet router. If there is a Firewall running in your router (In almost all cases there will be a Firewall running in your Internet router) and if it is preventing connections to DoorVaani SIP Server, you need to enable connections to pass through the Firewall. You would need to login into your router settings interface to check and do the firewall updates. If you don’t know how to do this, your best bet is to refer to the user manual of your router.
- If you are running a soft-phone application, like Zoiper, on a computer (Windows or Mac etc), please ensure the local firewall (for example Windows Firewall), if any, running on your computer is allowing connections to DoorVaani SIP Server.
How to run a ping command
If you do not see any Internet connectivity or firewall issues, please do a ping to DoorVaani SIP Server. Ping check can be done in Windows command prompt or Mac Terminal. The command to run is as follows (For Windows:Press WindowsKey+R to open “Run” box. Type “cmd” and then click “OK” to open a regular Command Prompt.):
ping as1.doorvaani.com
The ping command will report any issues found or any packet losses. Screenshot of a successful ping command to as1.doorvaani.com is shown here below.
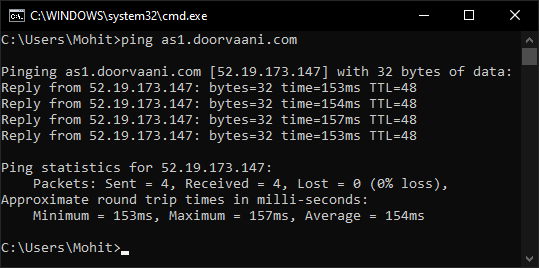
Ping Command in Windows
If none-of-the-above internet and connectivity checks resolves the problem, you should be using a freely downloadable packet capture program called Wireshark (Downloadable from https://wireshark.org). The rest of this blog post gives the full details on usage of Wireshark to do packets capture and save them in a file with a standard extension like a pcap or pcapng. This file can then be analysed to gain deeper insights to find the actual issues in the underlying network. A couple of more frequent issues are the DNS not able to resolve the as1.doorvaani.com domain and the user’s internet service provider (ISP) is blocking VOIP Communications. DNS resolution issues can be fixed by switching over to a pubic DNS like Google DNS.
Install and run Wireshark to save packet capture file
- If you do not already have Wireshark installed on your computer, please go to https://wireshark.org and download it from there. Please ensure Wireshark is installed and running on a computer connected to the same network as your SIP Device experiencing register issues.
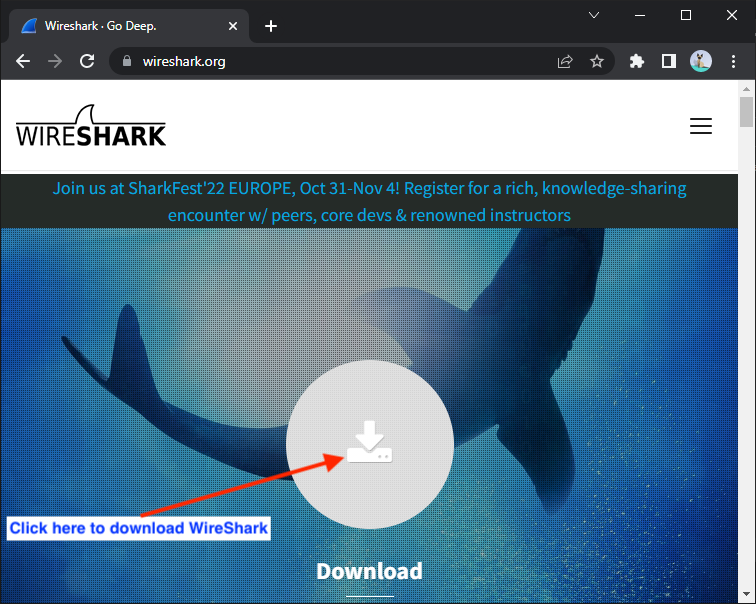
Wireshark Download
- Select an installer as per your computer system.
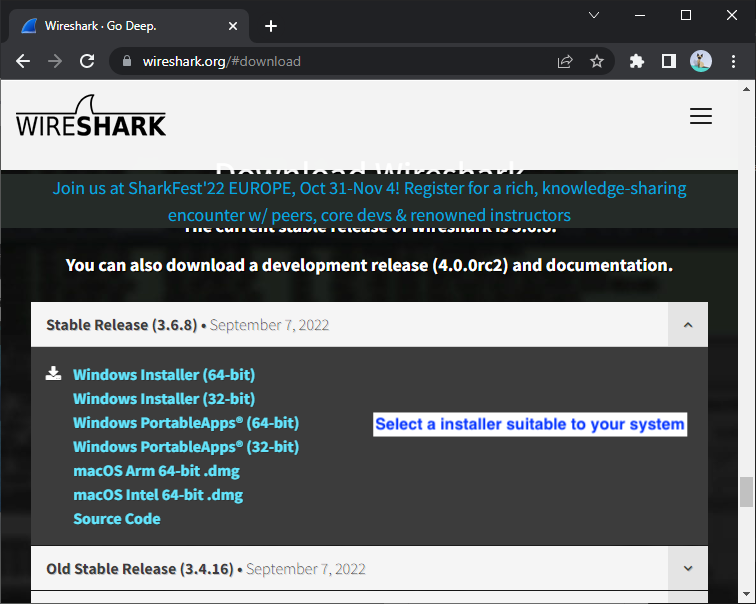
Select a Wireshark Installer
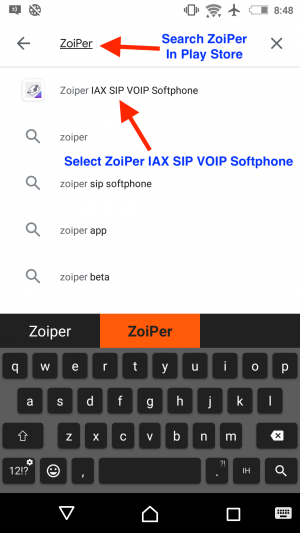
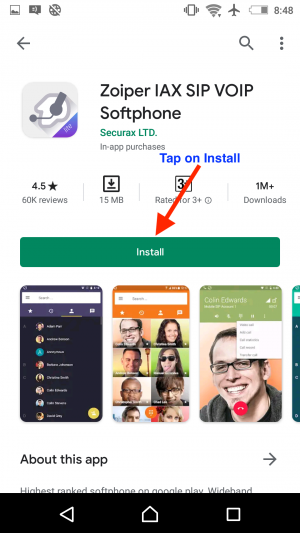
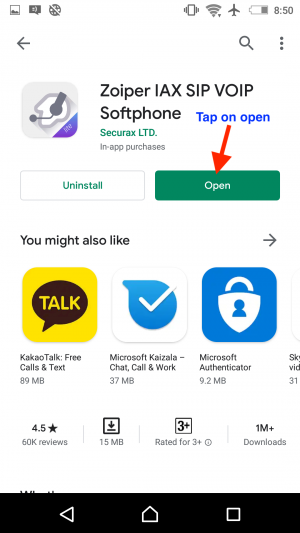
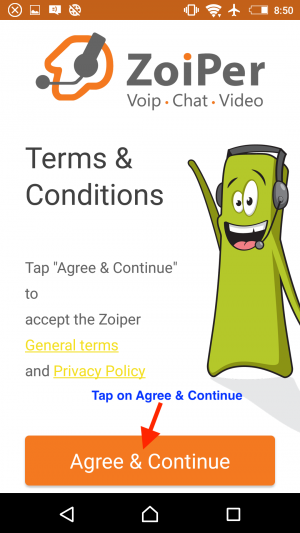
- For testing recommended soft-phone is ZoiPer. If you don’t have ZoiPer installed on the computer, please get it and install it (free version of Zoiper is good enough) from https://zoiper.com . You may want to refer to https://doorvaani.com/blog/install-and-configure-zoiper5-on-windows/ (For Zoiper configuration on windows) or https://doorvaani.com/blog/install-and-configure-zoiper5-on-mac-osx/ (For Zoiper configuration on mac).
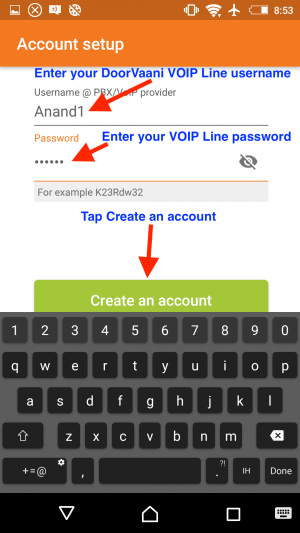
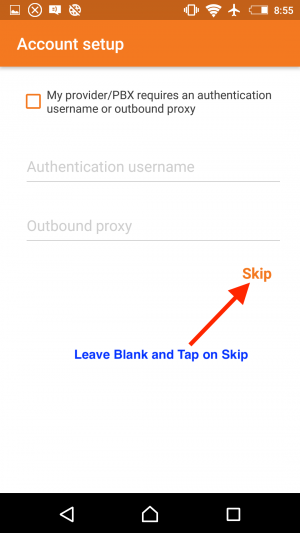
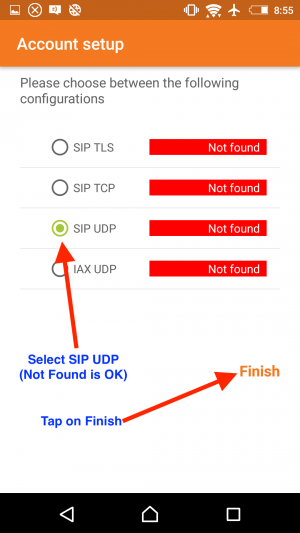
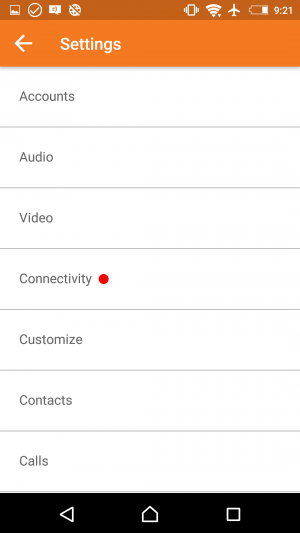
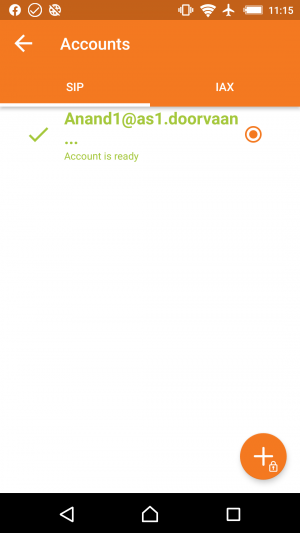
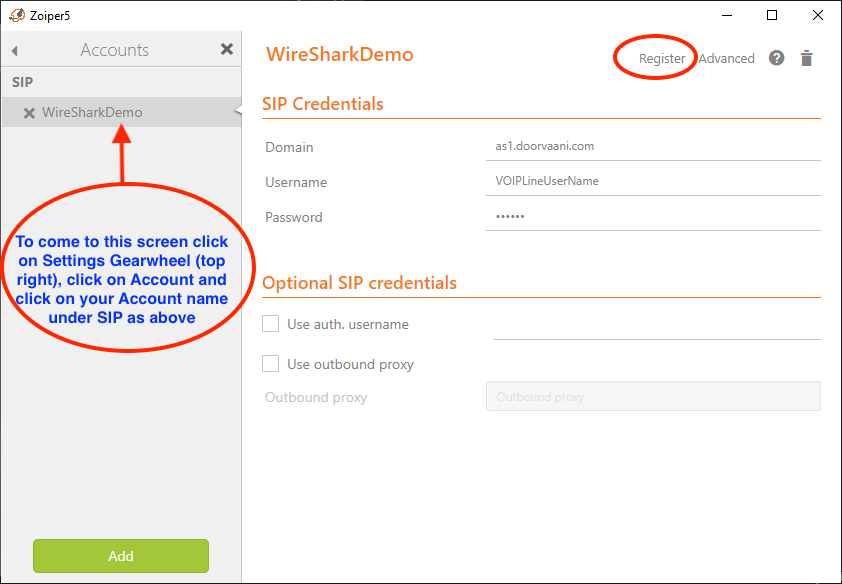
- Once Zoiper is installed and configured on your computer, please open it and get to the account setup page using “Setup gear wheel (in the top right) > Accounts > Click on account name under SIP”.
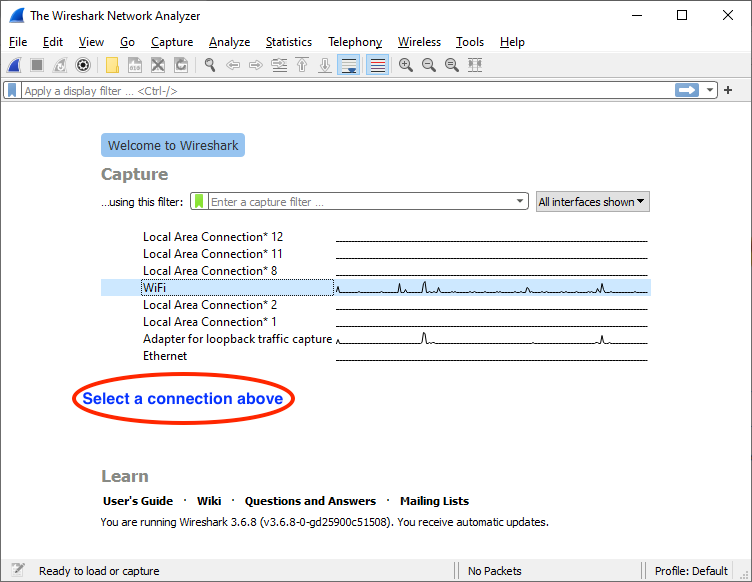
- Open Wireshark and select the connection type you are using for example WiFi connection.
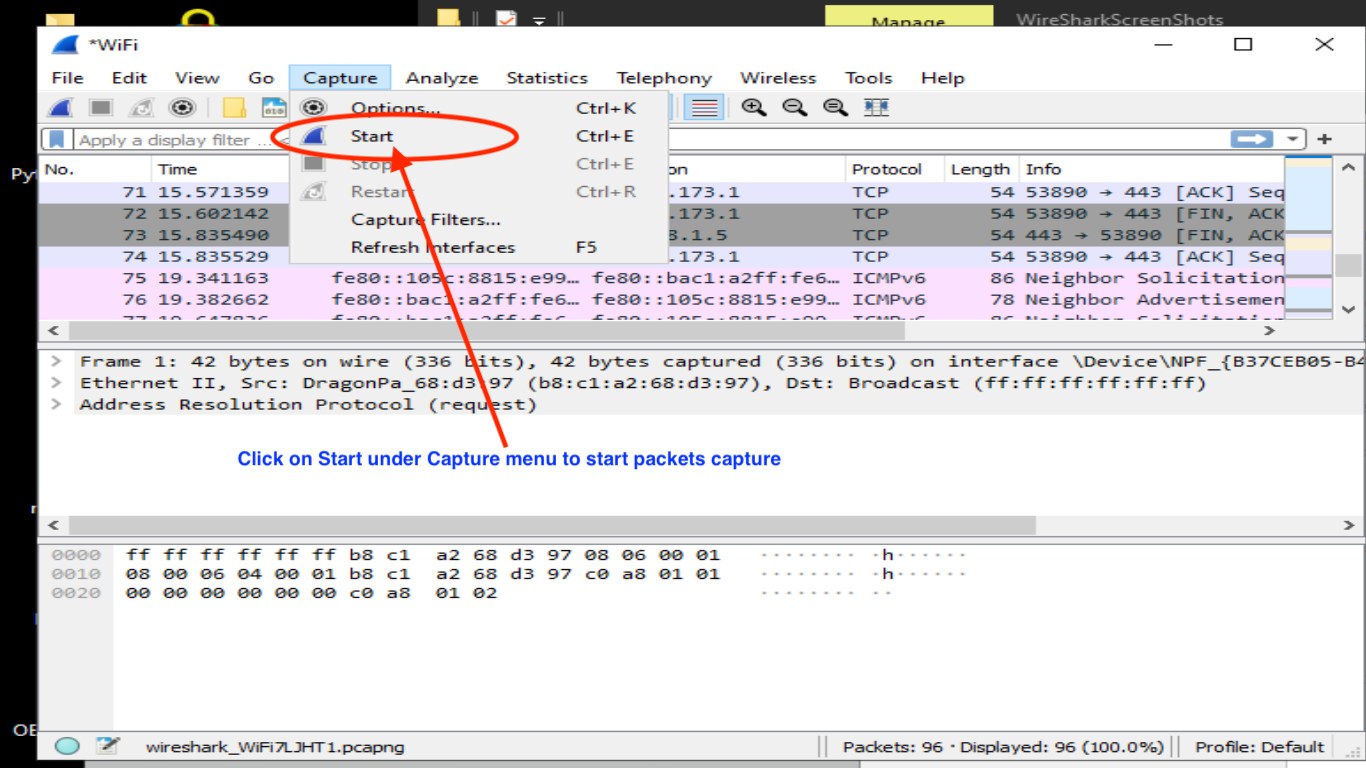
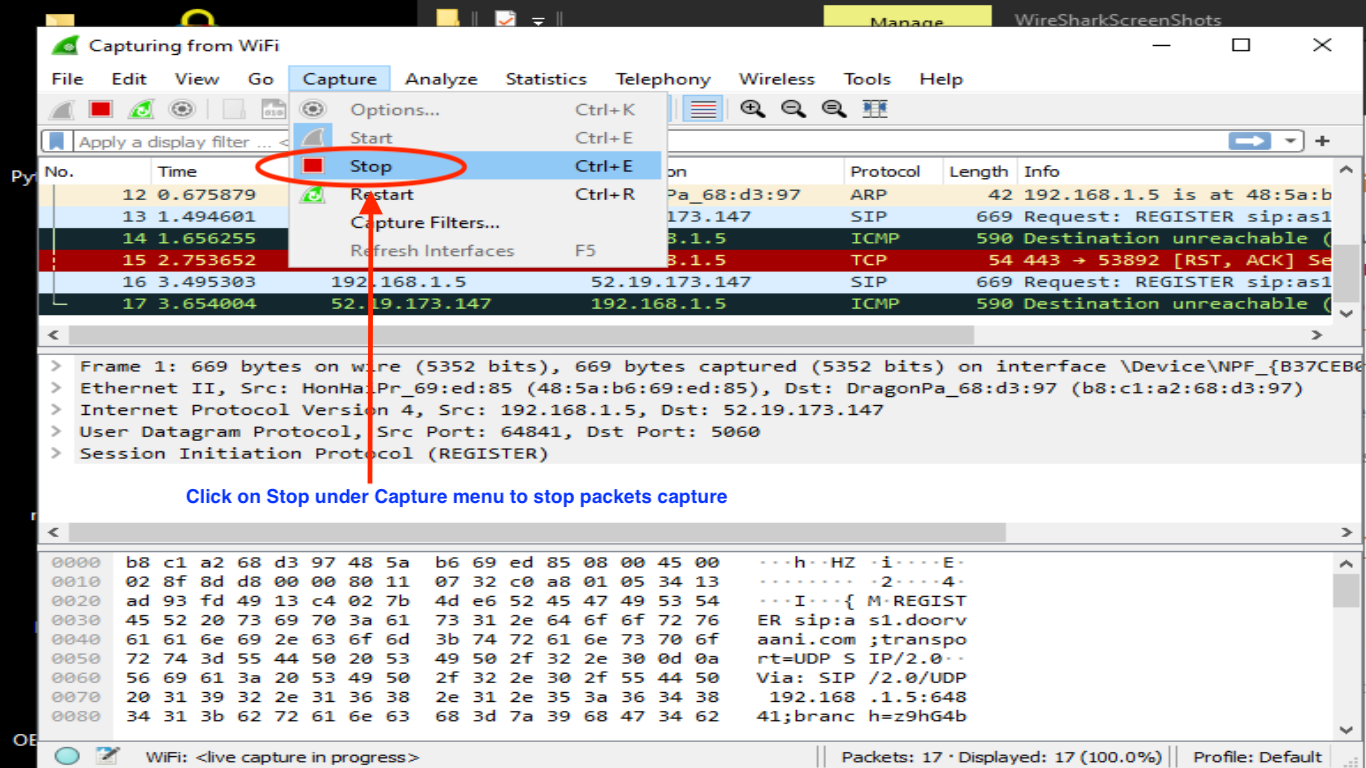
- In Wireshark start the packet capture using the “Capture > Start” menu.
- While the packet capture is started in Wireshark, switch over to Zoiper and click on the “Register” link in the top right. Wait until you see the error message and then you can stop capture in Wireshark.
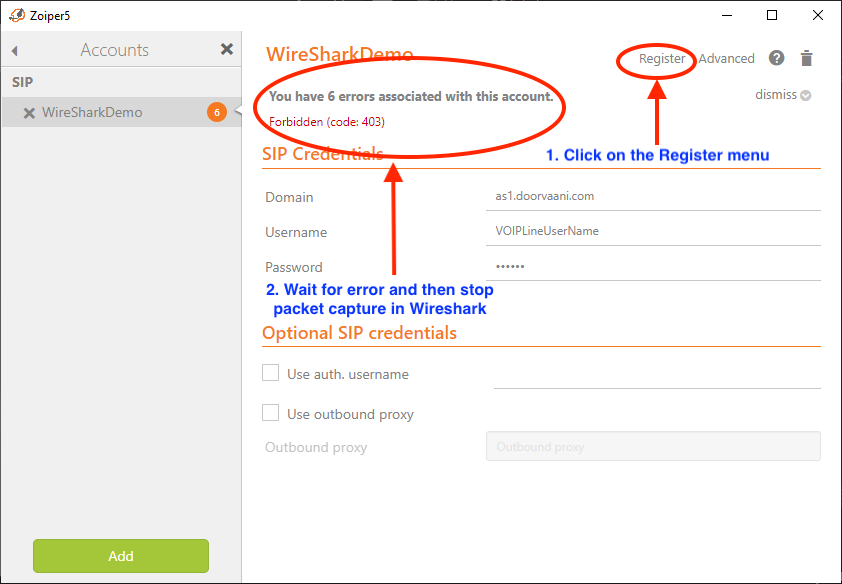
- Once the SIP register fails in your Zoiper stop the packet capture in Wireshark.
- After you stop the packet capture, you can save a file in Wireshark using the standard, “File > Save” menu. This file can then be analysed to reveal the issues in the underlying network. Wireshark is smart enough to highlight the error lines in red.
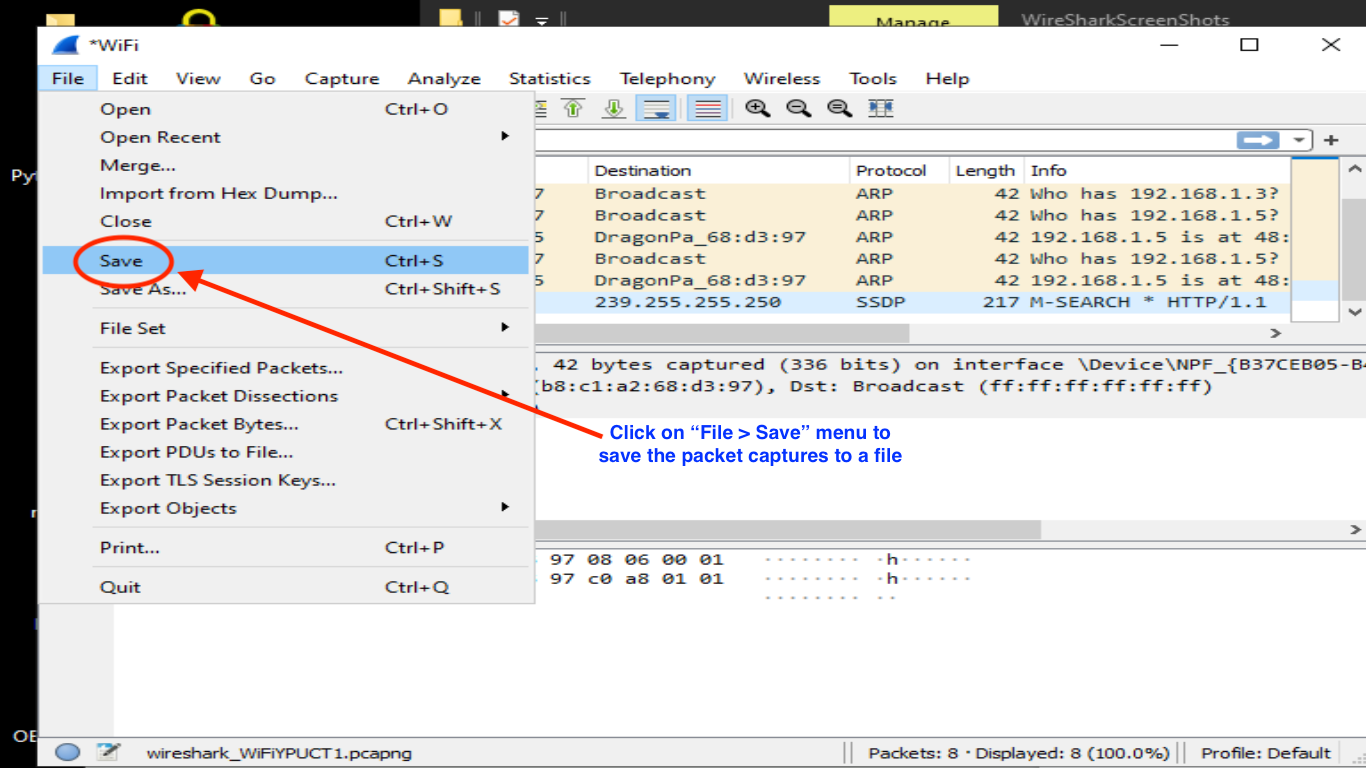
Save Packet Capture file
Note: Wireshark is also helpful in resolving other network related issues like one-way voice or no voice on VOIP Calls.