


This blog post helps you in installing ZoiPer5 on Windows and also configure it to work with your DoorVaani account. Please refer to the screen shots and follow the annotations made on those screen shots. If you don’t have a DoorVaani account yet, please register for free here to create one.
- To download ZoiPer5 please go to www.zoiper.com and click on the Download link and then select the free community version. Once download is completed, please double click on the downloaded .exe file to start the installation process. Once the installer opens click on ‘Next’ button on the introduction screen.
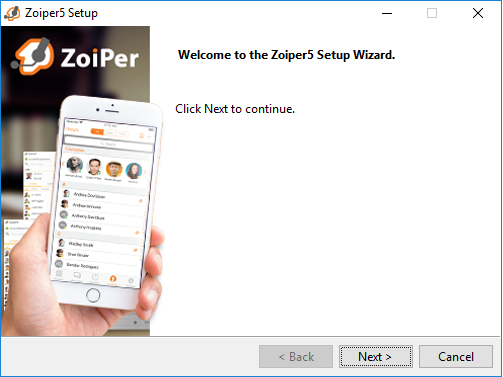
Click on Next in the ZoiPer setup wizard
- Accept the license agreement to complete the installation process.

Accept the License Agreement
- Select the components you wish to install.
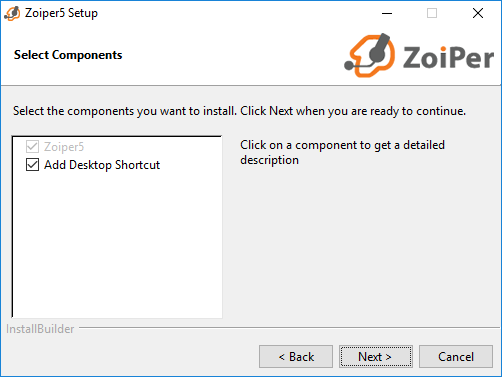
Select ZoiPer Components
- Select the installation directory.

Installation Directory
- Select the name of the startup menu folder.
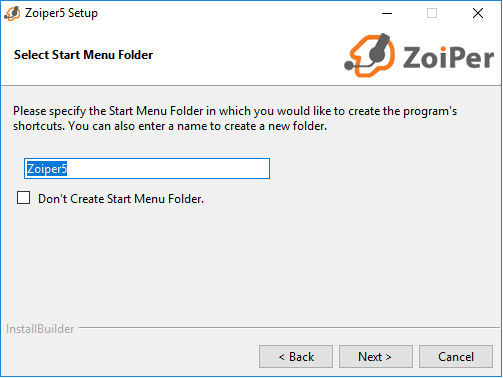
Start Menu Folder
- Select your system architecture – 32 bit or 64 bit. ZoiPer suggests the auto detected architecture.
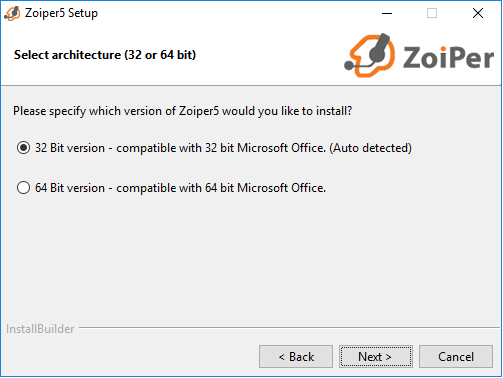
Select Architecture
- Select installation type – for All Windows Users or the Current User. If your computer is having multiple windows users then selecting All Users will make ZoiPer available to all.

Installation Type
- Click on “Next” button on the “Ready to install” screen.
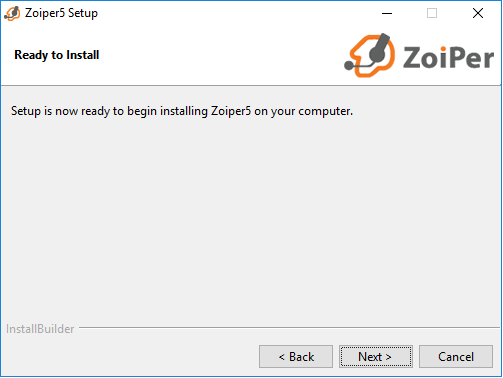
Ready To Install
- Wait for the installation process to complete and then click on the “Finish” button.
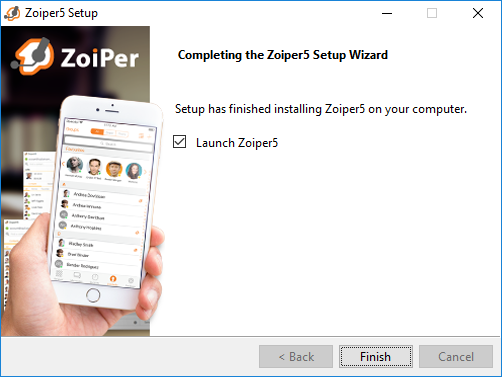
Finish Installation
- Launch ZoiPer if not already launched in your in your computer. Once ZoiPer is open, please click on “Continue as a Free User” link.
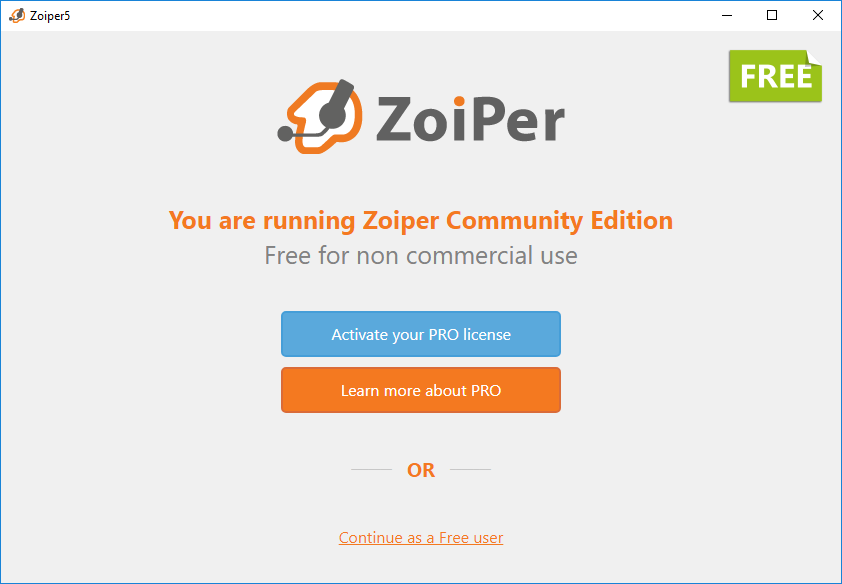
Continue as a free user
- Please enter your DoorVaani.com VOIP Line username and VOIP Line password. Please note that both VOIP Line username and password are case sensitive. If you do not know your VOIP Line username, you can see it in your DoorVaani.com account. If you forgot your VOIP Line password, you can reset it in your DoorVaani.com account. Please click on the login button after entering the username and password.
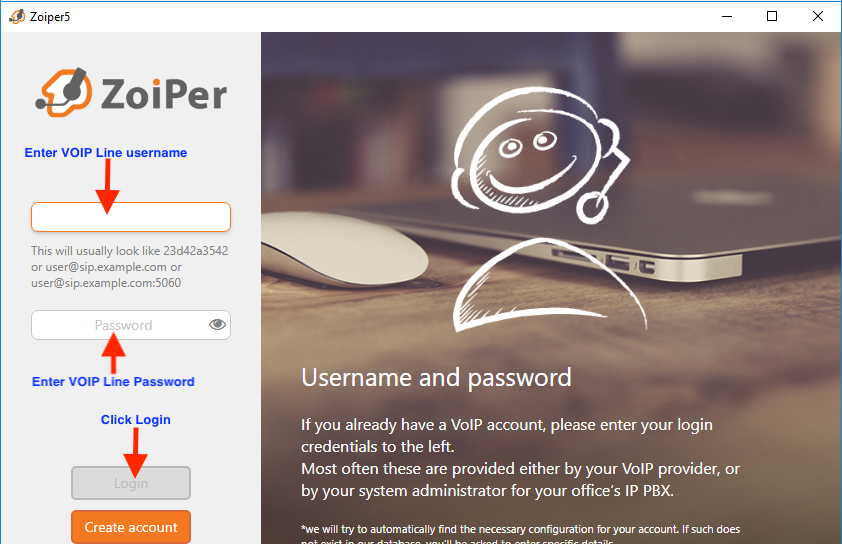
VOIP Line username and password
- Please enter your DoorVaani.com SIP Domain / Hostname. For most users this name will be as1.doorvaani.com
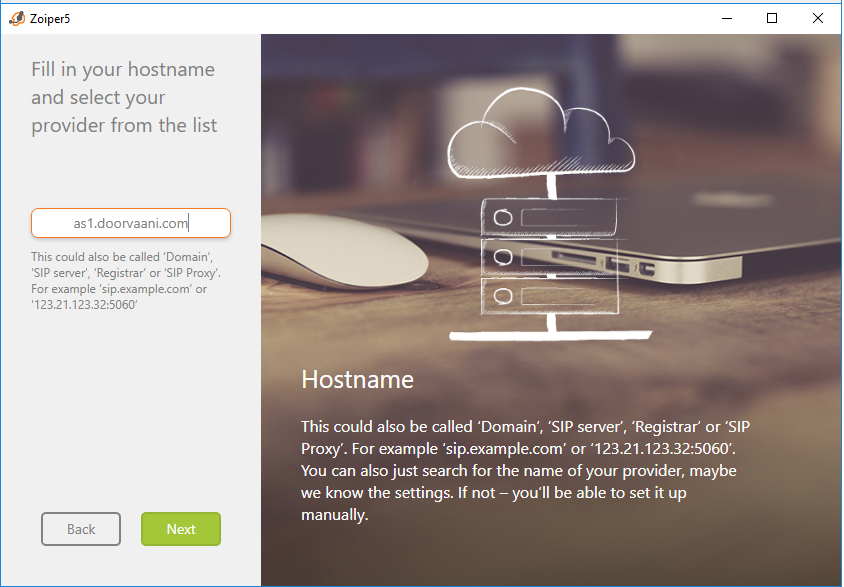
SIP Hostname or SIP Domain
- Please skip the optional SIP Authorisation screen as this is not required.
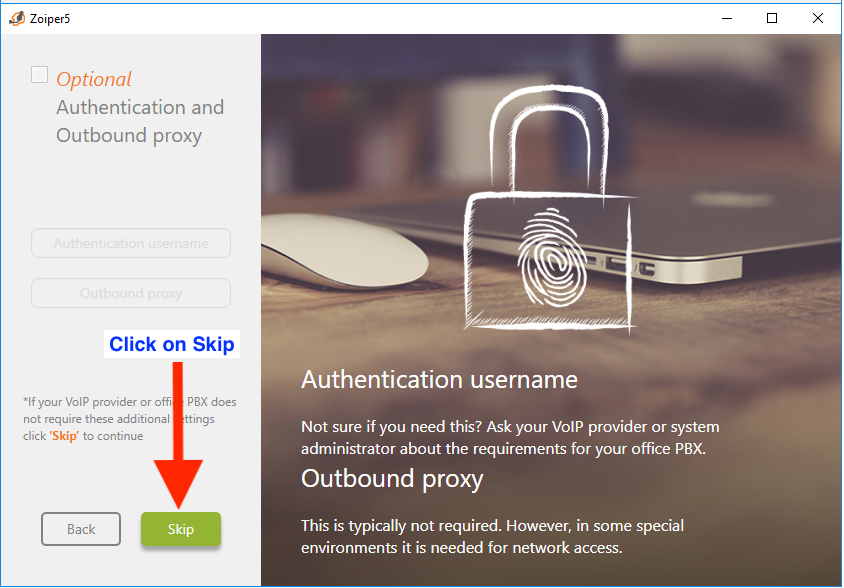
Skip Optional Authorisation
- Please select SIP TCP or SIP UDP on the configurations screen and then click on Next button.
Select SIP UDP or SIP TCP
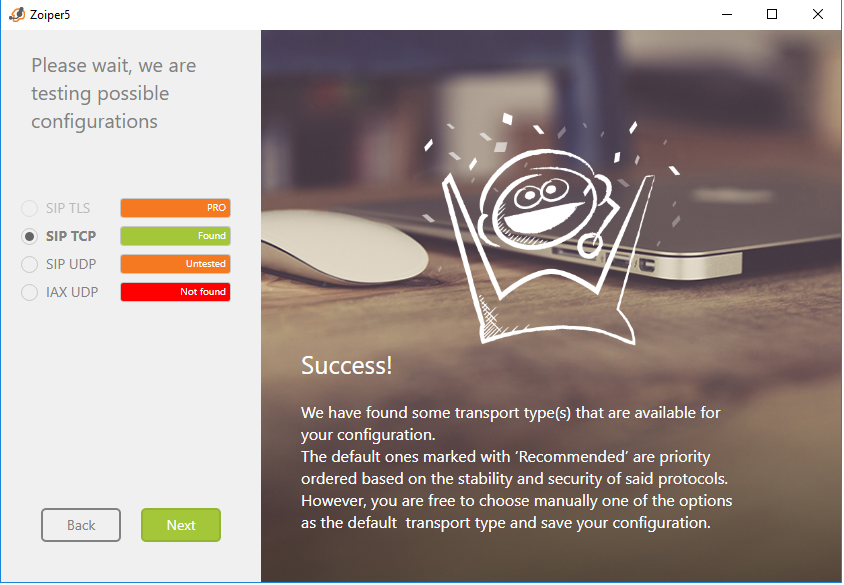
- Test your configurations by clicking on the configure button.
Testing Configurations
- After successful testing, please click on “Finish” to finish the ZoiPer configuration.
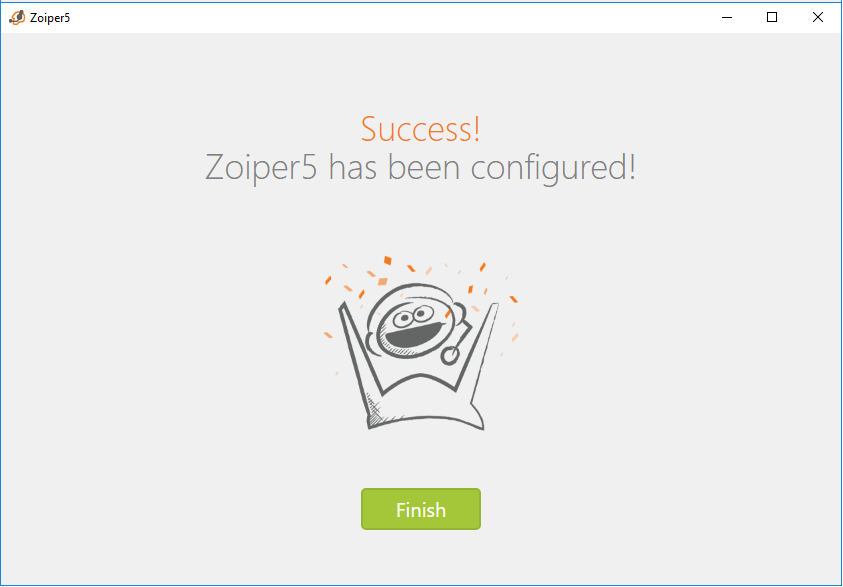
ZoiPer Success
- Once the configuration is successfully finished you will see a “green tick” mark by the side of your account name in the top part of ZoiPer and you can then click on the “dialpad” icon to see the see the dialpad.
How to change your existing ZoiPer account configuration?
If you need to change your ZoiPer account configuration like change the VOIP Line username or password or change your SIP Domain name, please do the following:
- Click on ZoiPer “settings” gear wheel in the top right corner.

Settings Gear Wheel
- In the settings menu on the left hand side, click on “Accounts”.
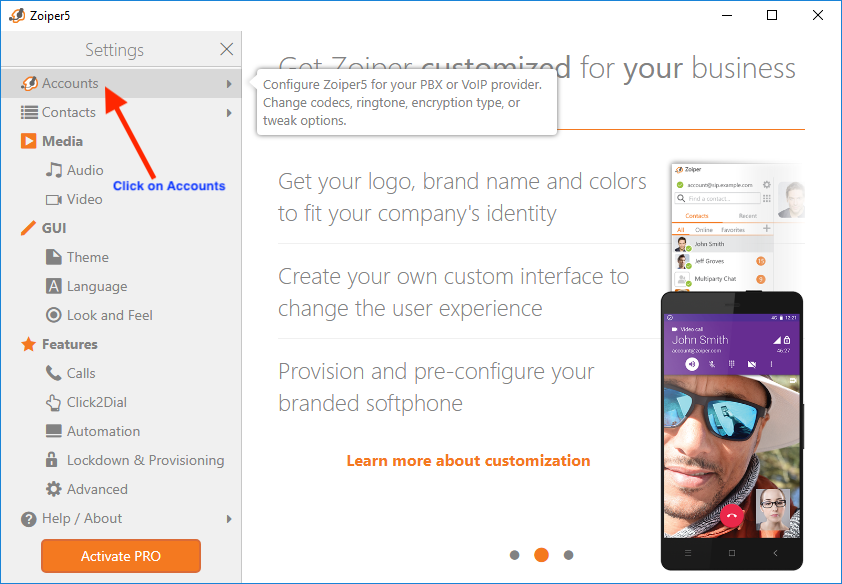
ZoiPer Accounts menu
- Now click on your Account Name on the left hand side under SIP.
ZoiPer Account Name
- Now you can edit your Domain Name, Username and Password shown on “SIP Credentials” page.
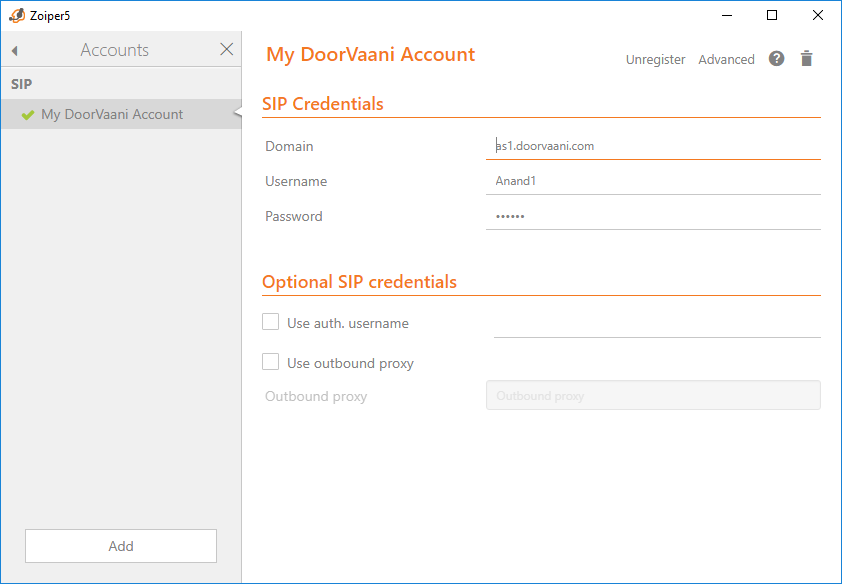
Edit SIP Account Details
- After doing the desired updates, please click on your Account name on the left hand side and then click “yes” in the alert message that pops up to save your changed data.
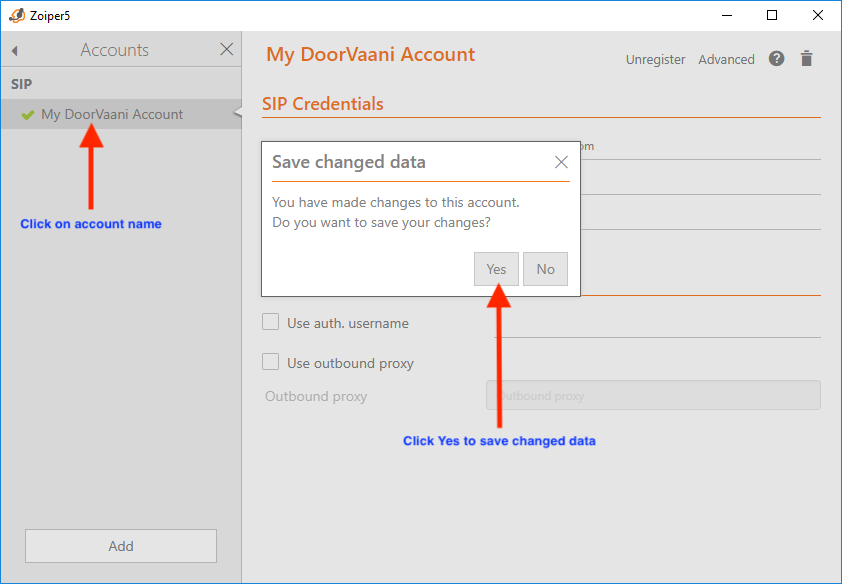
Save Account updates
- Close the accounts screen and the setting screen to go back to the ZoiPer dialpad.