In order to get uninterrupted inbound calls on your DID Phone Number, you must ensure that your Phone Number is renewed before its expiry. While you can continue to make outbound calls using your VOIP Line, you will not be able to receive inbound calls on your Phone Number post expiry until and unless you renew it. You can renew your Phone Number for a minimum period of one month to a maximum period of 12 months at a time. If your Phone Number is not renewed before its expiry date and time, you run the risk of permanently loosing your Phone Number. Please note that the Phone Number expiry date and time shown to you in your DoorVaani account is in GMT. This blog post explains how to manually renew your Phone Number.
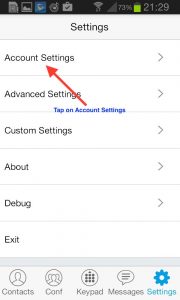
- Please login into your DoorVaani account.
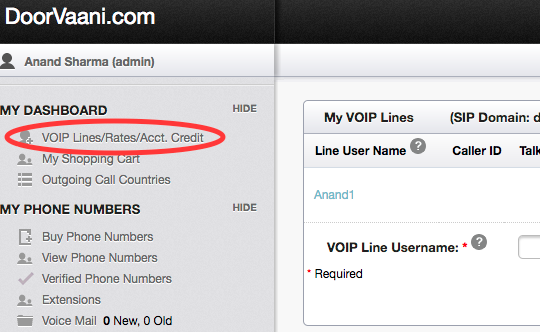
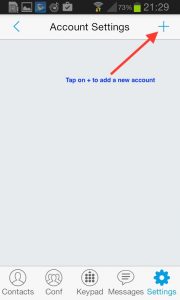
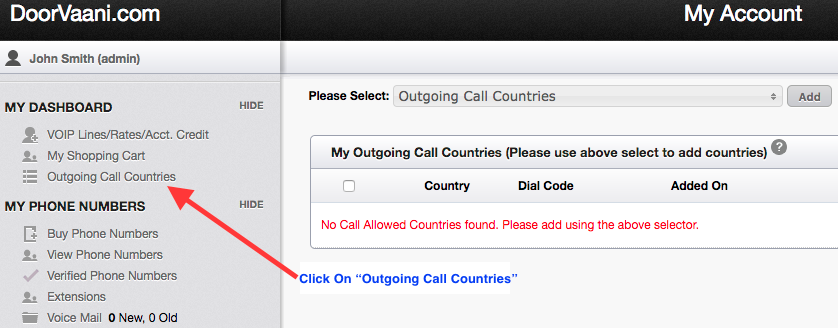
- Please click on “View Phone Numbers” menu item on the left hand side under MY PHONE NUMBERS.
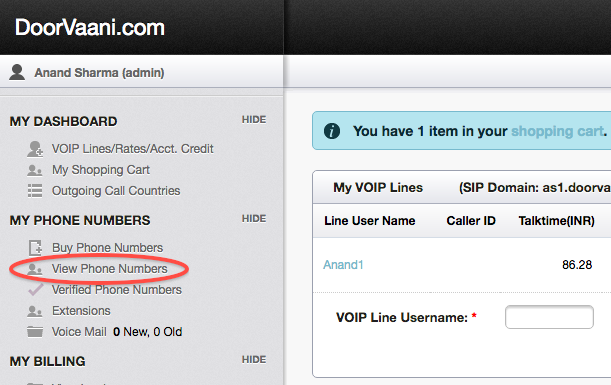
View Phone Numbers Menu
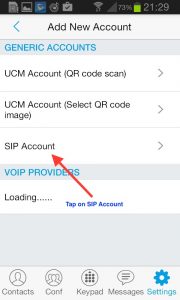
- On the “My Phone Numbers” page, please select the period of renewal in the “Renew For” drop down box in the “Renew Now” column (right most column).
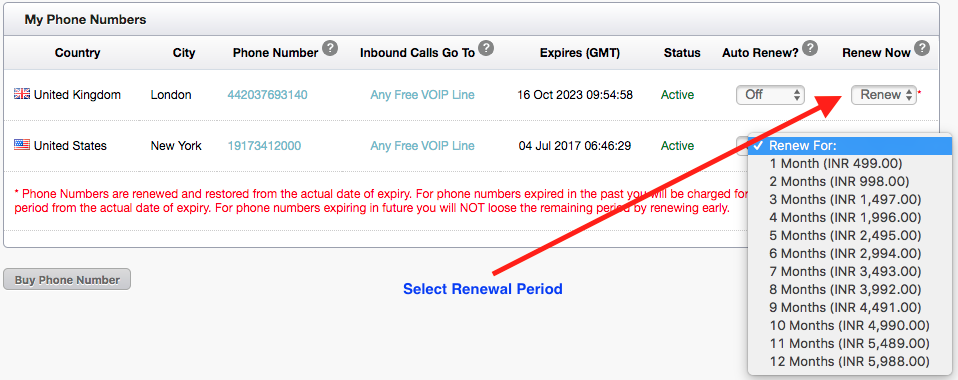
Phone Number Renewal Period
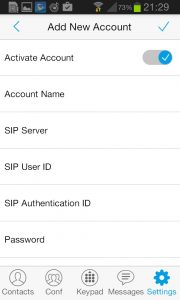
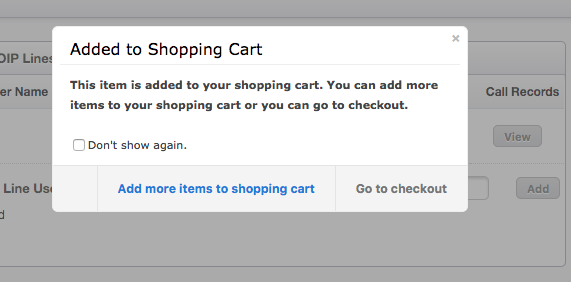
- Please click on ‘Ok’ on Renewal Order “Added to shopping cart” message.
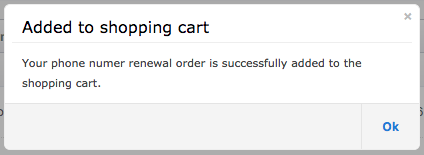
Added to shopping cart
- Now go to the Shopping Cart page (by clicking on Shopping Cart link in the left hand side menu) and then complete your Shopping Cart checkout by selecting a payment method that works best for you.
P.S: Phone Numbers are renewed and restored from the actual date of expiry. For phone numbers expired in the past you will be charged for the past period from the actual date of expiry. For phone numbers expiring in future you will NOT loose the remaining period even if you renew early.
Related Post: How to set auto renewal of Phone Numbers?